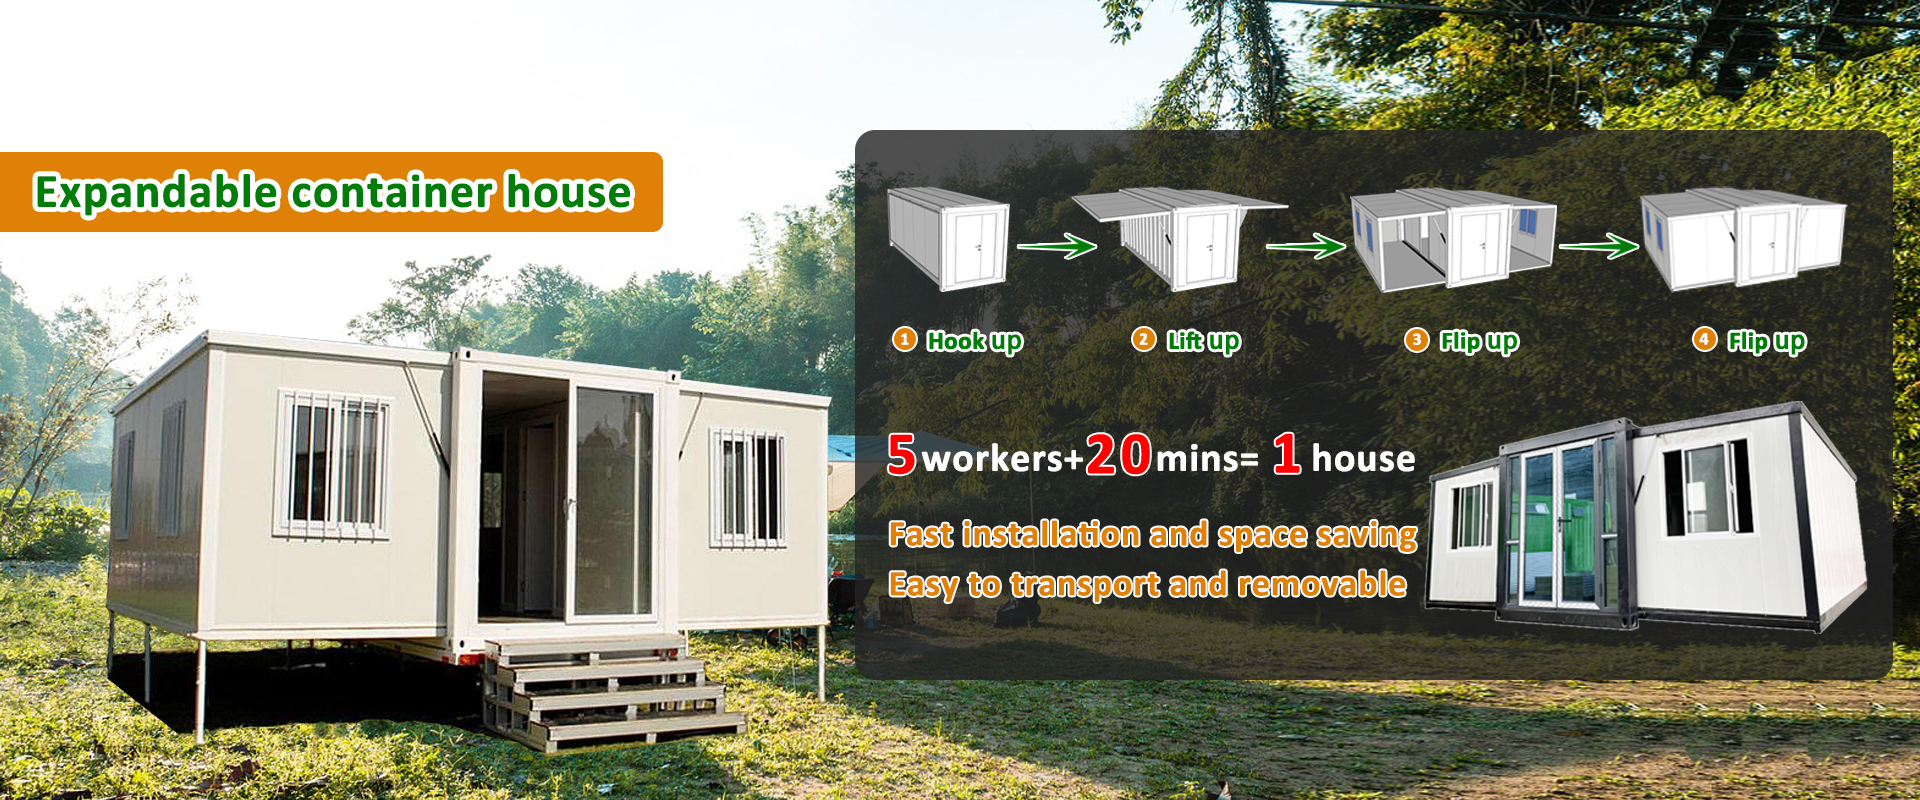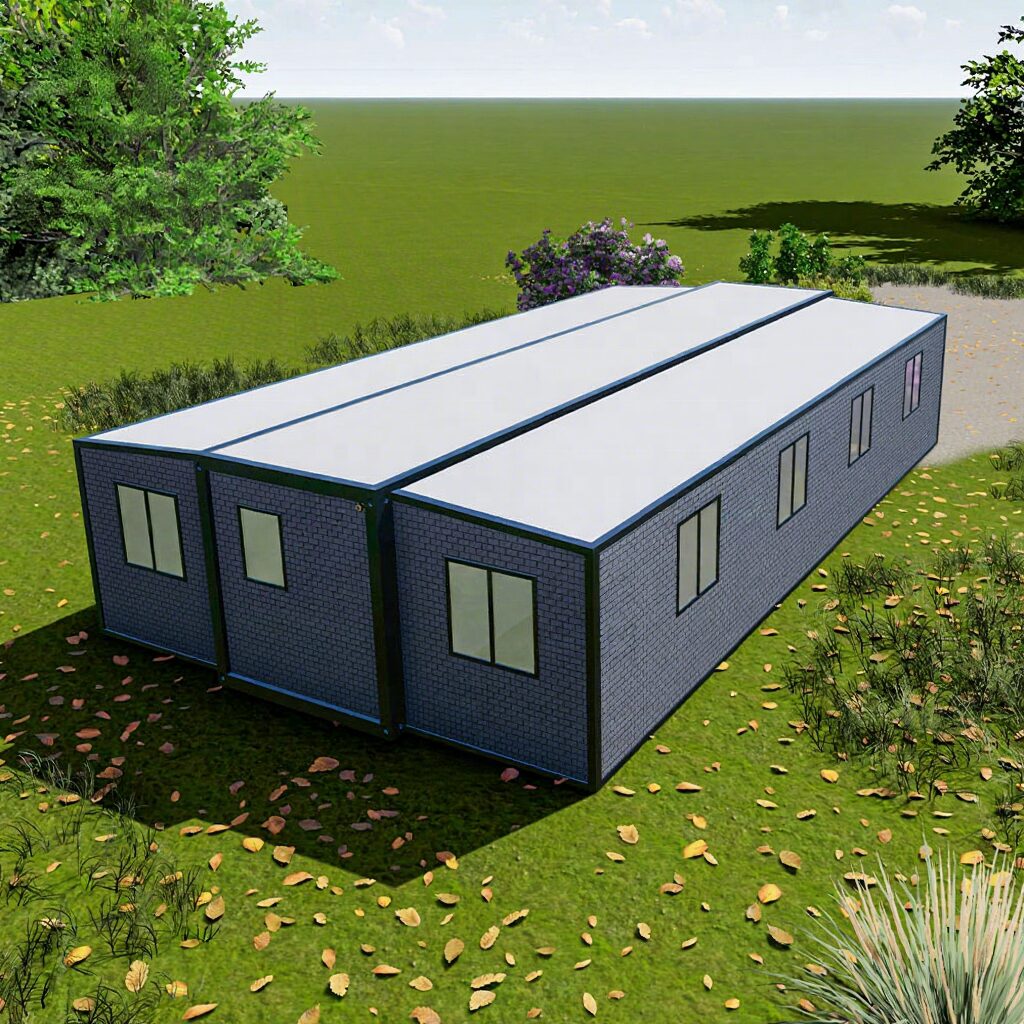

The tiny house movement has gained significant traction in recent years, with many individuals opting for a more minimalist and sustainable lifestyle 🌿. One of the most appealing aspects of tiny house living is the ability to build and customize your own home using DIY tiny house kits 🛠️. These kits provide a comprehensive set of materials and instructions, allowing beginners to construct their own tiny house with ease 📦. In this guide, we will walk you through the process of building a tiny house using a DIY kit, highlighting the key considerations, materials, and steps involved 📝.
Understanding Zoning Laws and Regulations
Before embarking on your tiny house journey, it is essential to understand the zoning laws and regulations in your area 🗺️. Zoning laws dictate the size, location, and type of structures that can be built on a particular piece of land 🚫. Many areas have specific regulations regarding tiny houses, including minimum size requirements, setback rules, and hook-up requirements 📊. It is crucial to research and comply with these regulations to avoid any potential issues or fines 🚨.

Choosing the Right DIY Tiny House Kit
With numerous DIY tiny house kits available on the market, selecting the right one can be a daunting task 🤔. When choosing a kit, consider factors such as the size and layout of the house, materials used, and the level of customization offered 📈. Look for kits that use sustainable and eco-friendly materials, such as reclaimed wood, low-VOC paints, and energy-efficient systems 🌟. Additionally, consider the skill level required for assembly and the availability of technical support 📞.

Materials and Components
A typical DIY tiny house kit includes a range of materials and components, such as:
- Lumber and framing materials 🌳
- Exterior finishes, including siding, roofing, and trim 🏠
- Insulation and weatherproofing materials ❄️
- Doors, windows, and skylights 🌞
- Electrical, plumbing, and HVAC systems 💡
- Flooring, walls, and ceiling materials 🛋️
- Cabinets, countertops, and fixtures 🛍️
Step-by-Step Installation Guide
Once you have selected your DIY tiny house kit, it’s time to start building 🎉. Follow these steps to ensure a successful installation:

- **Site preparation**: Prepare the building site, including clearing the land, laying the foundation, and installing utilities 🚧.
- **Framing and structural assembly**: Assemble the frame and structural components of the house, using the provided instructions and materials 🛠️.
- **Installation of exterior finishes**: Install the exterior finishes, including siding, roofing, and trim 🏗️.
- **Insulation and weatherproofing**: Install insulation and weatherproofing materials to ensure a comfortable and energy-efficient living space ❄️.
- **Installation of doors, windows, and skylights**: Install the doors, windows, and skylights, taking care to ensure proper sealing and flashing 🌞.
- **Electrical, plumbing, and HVAC system installation**: Install the electrical, plumbing, and HVAC systems, following the provided instructions and local building codes 💡.
- **Finishing touches**: Install flooring, walls, and ceiling materials, as well as cabinets, countertops, and fixtures 🛋️.
Maintenance and Safety Considerations
Regular maintenance is crucial to ensuring the longevity and safety of your tiny house 🛠️. Some key considerations include:

- **Regular inspections**: Regularly inspect the house for signs of damage or wear, including roof leaks, structural issues, and pest infestations 🐜.
- **Maintenance of systems**: Regularly maintain the electrical, plumbing, and HVAC systems to ensure they are functioning properly 💡.
- **Safety equipment**: Install and maintain safety equipment, such as smoke detectors, carbon monoxide detectors, and fire extinguishers 🚒.
Troubleshooting Common Issues
Despite proper maintenance, issues can still arise 🤦♂️. Some common problems and solutions include:
- **Leaks and water damage**: Inspect the roof and exterior finishes for signs of leaks, and repair or replace as needed 🌂.
- **Electrical issues**: Check the electrical system for faults, and consult a professional if necessary 💡.
- **Plumbing problems**: Inspect the plumbing system for leaks or blockages, and repair or replace as needed 🚽.
Buyer Guidance and Recommendations
When purchasing a DIY tiny house kit, consider the following:
- **Research the manufacturer**: Research the manufacturer’s reputation, customer reviews, and warranty offered 📊.
- **Check local building codes**: Ensure the kit meets local building codes and regulations 🗺️.
- **Calculate the total cost**: Calculate the total cost of the kit, including materials, labor, and any additional features or upgrades 📈.
- **Consider the lifestyle benefits**: Consider the lifestyle benefits of tiny house living, including reduced environmental impact, lower costs, and increased simplicity 🌟.
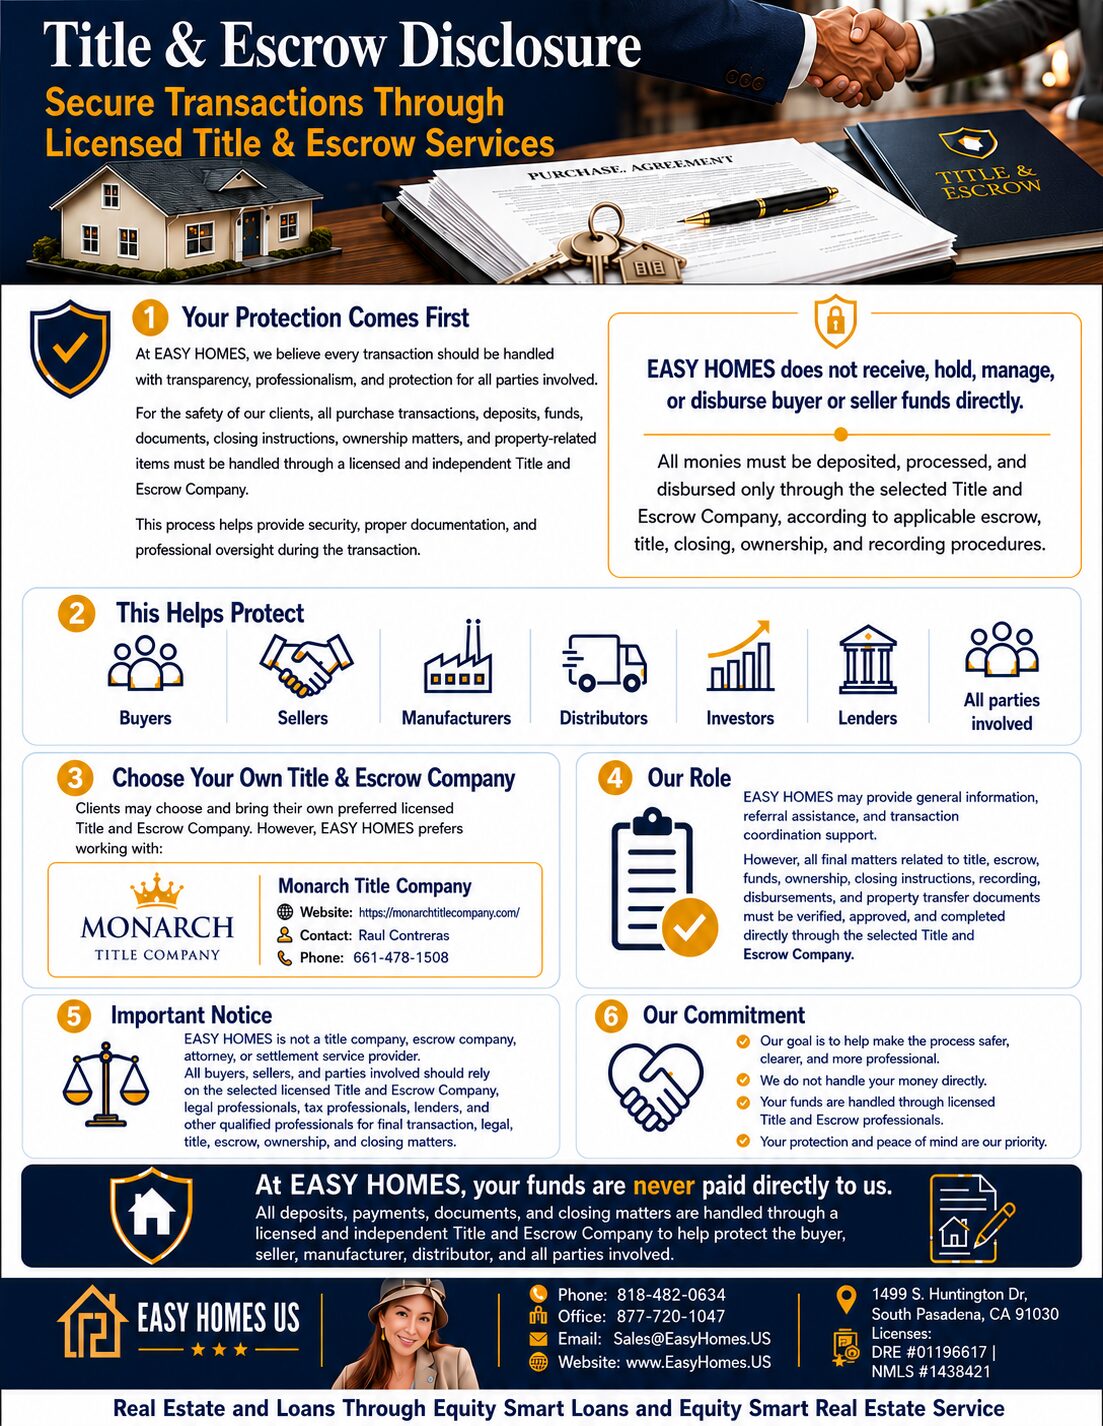
Sponsored by EASYHOMES.US,
your trusted partner in real estate — connecting buyers, sellers, and renters with the homes they love,
backed by local expertise and genuine care.
DISCLAIMER: We partner with tiny homes manufacturers and may receive a commission or markup on sales made through this website.